
1. 준비
https://www.transmissionzero.co.uk/software/freeglut-devel/
freeglut Windows Development Libraries
Introduction Whilst at the University of Essex, I took a module called “Interactive Computer Graphics” (or EE222 as we referred to it). Half of the course consisted of using POV-Ray to create images, and then putting them together to make a high quality an
www.transmissionzero.co.uk
여기에서 freeglut 3.0.0 MSVC Package 다운로드 받는다.

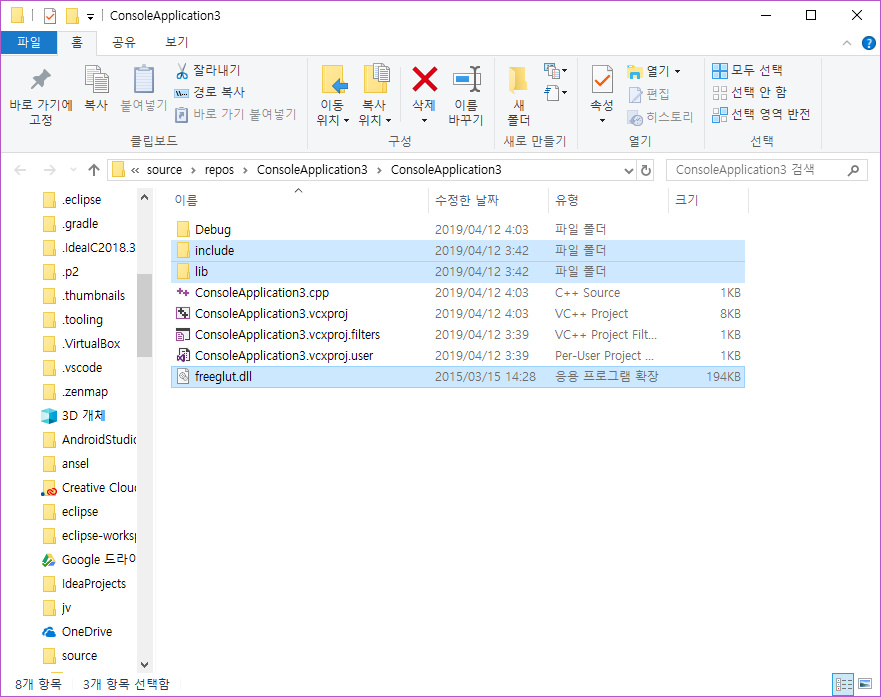
필요한 것은, include 폴더, lib 폴더 그리고 bin 폴더 안에 있는 freeglut.dll 파일이다.
2. Visual Studio 프로젝트 생성 및 세팅
프로젝트 생성은 C++ 콘솔 어플리케이션으로 시작한다. 프로젝트 생성이 완료되었다면 위에서 받아두었던 파일을 프로젝트 폴더로 옮겨준다. 솔루션 탐색기의 프로젝트명의 우클릭으로 파일탐색기에서 폴더열기를 할 수 있다.

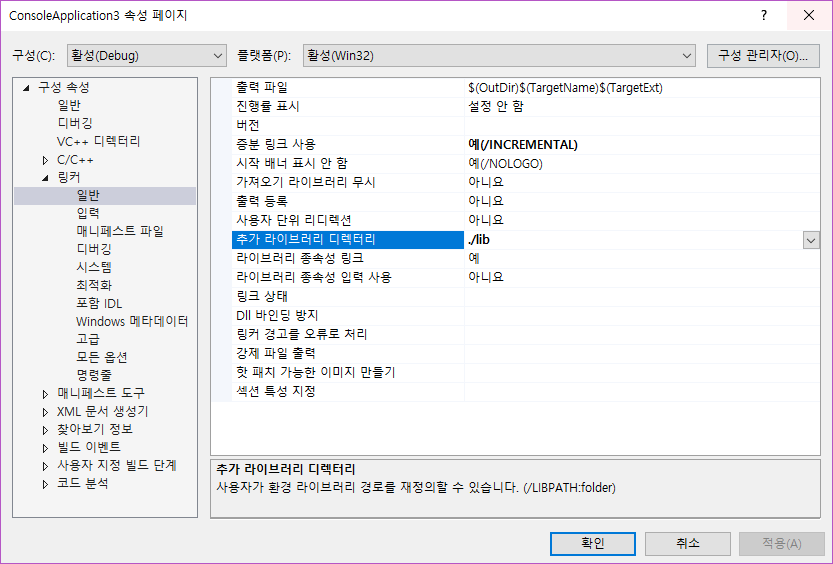
아까와 마찬가지로 프로젝트 이름을 우클릭하여 속성에 들어가 다음과 같은 세팅을 한다.

3. 예제 실행
준비해 둔 예제가 있다. 복사 붙여넣기를 하여 실행 해 보자.

|
1 2 3 4 5 6 7 8 9 10 11 12 13 14 15 16 17 18 19 20 21 22 23 24 25 26 |
#include "gl/glut.h" void display() {
glClearColor(1.0f, 1.0f, 1.0f, 1.0f); glClear(GL_COLOR_BUFFER_BIT); glColor3f(0.0f, 0.0f, 1.0f); glBegin
(GL_POLYGON); glVertex2f(-0.2f, -0.2f); glVertex2f(0.4f, -0.4f); glVertex2f(0.4f, 0.4f); glVertex2f(-0.2f, 0.2f);
glEnd(); glFinish(); } int main(int argc, char** argv) { glutInit(&argc, argv); glutCreateWindow ("OpenGL"); glutDisplayFunc(display); glutMainLoop(); return 0; } |
cs |
'프로그래밍 > C, C++' 카테고리의 다른 글
| OpenGL 비주얼 스튜디오에서 간단하게 시작하기 (0) | 2019.04.17 |
|---|---|
| [C] 입력받은 파일 내용을 콘솔창에 띄우기 (0) | 2019.01.11 |
| [C] 입력받은 파일 내용 그대로 새로운 파일을 출력 (0) | 2019.01.11 |
| [C] 콘솔 창에서 W, A, S, D 키 (방향키)로 커서 움직이기 (0) | 2019.01.11 |